Table of Contents
ToggleIntroduction: Uninstall OpenCore Legacy Patcher Easily
OpenCore Legacy Patcher (OCLP) is a miracle tool for the Macintosh community. It allows us to run modern software on hardware that Apple deemed obsolete years ago. But sometimes, the experiment ends. Maybe the performance wasn’t what you hoped for, maybe you experienced too many bugs, or perhaps you are preparing to sell the computer and need to revert the patched Mac to its stock condition.
Whatever your reason, simply dragging the OCLP app to the Trash is not enough. OCLP installs deep system modifications, including a custom bootloader in the hidden EFI partition and patched drivers in the root system volume. If you don’t remove these correctly, you could end up with an unbootable machine or a “Prohibitory” stop sign at startup.
In this comprehensive OCLP removal guide, we will walk you through the correct procedure for uninstalling OCLP Mac components, resetting the EFI configuration, and restoring the original macOS OCLP-native functionality. Whether you want a quick removal or a completely fresh start, we have you covered.
Understanding the Uninstall Process
Unlike a standard application, OCLP operates at the firmware and bootloader level. To remove OpenCore Legacy Patcher completely, you must undo three distinct layers of modification:
- Root Patches: The modified drivers (Wi-Fi and GPU) are installed within the OS.
- EFI Bootloader: The OpenCore program that loads before macOS starts.
- The OS Itself: If you installed an unsupported OS (like Sonoma on a 2012 Mac), you cannot simply “uninstall” OCLP and keep Sonoma. You must reinstall macOS clean to a version your hardware officially supports.
Phase 1: Preparation and Backups
Before you touch a single system file, you must secure your data. The process of reverting to stock often involves wiping the drive, especially when downgrading the operating system.
Time Machine is Essential
If you plan to restore original macOS OCLP behavior, create a full Time Machine backup to an external drive.
- If downgrading, you can’t move “Settings” or “System Files” from a newer backup to an older OS. Always copy important folders to an external drive in case Migration Assistant fails.
Phase 2: Remove Root Patches (If Keeping Current OS)
If you are staying on the same macOS version but just want to clean up drivers (perhaps to troubleshoot), you can try to remove root patches first.
Reverting Drivers
- Open the OpenCore Legacy Patcher app.
- Click on Post-Install Root Patch.
- Look for a button labeled “Revert Root Patches” (this option is only available if patches are currently installed).
- Click it and let the process run.
- Restart your Mac.
If using an unsupported OS, removing root patches can cause graphics and Wi-Fi to break. Only do this if you’re about to wipe the drive.
Phase 3: The Nuclear Option (Clean Install)
The only 100% guaranteed way to revert a patched Mac to stock and remove all traces of OCLP is to erase the drive and reinstall macOS clean. This is highly recommended if you are selling the device.
Step 1: Create a Native Installer
You need a USB installer for the last officially supported macOS version for your specific Mac.
- MacBook Pro 2012: macOS Catalina.
- MacBook Pro 2015: macOS Monterey.
- Mac Pro 5,1: macOS Mojave.
Download official installers from the App Store or with ‘softwareupdate –fetch-full-installer’. Use ‘createinstallmedia’ or DiskMaker X to make a USB installer.
Step 2: Boot and Erase
- Plug in your native USB installer.
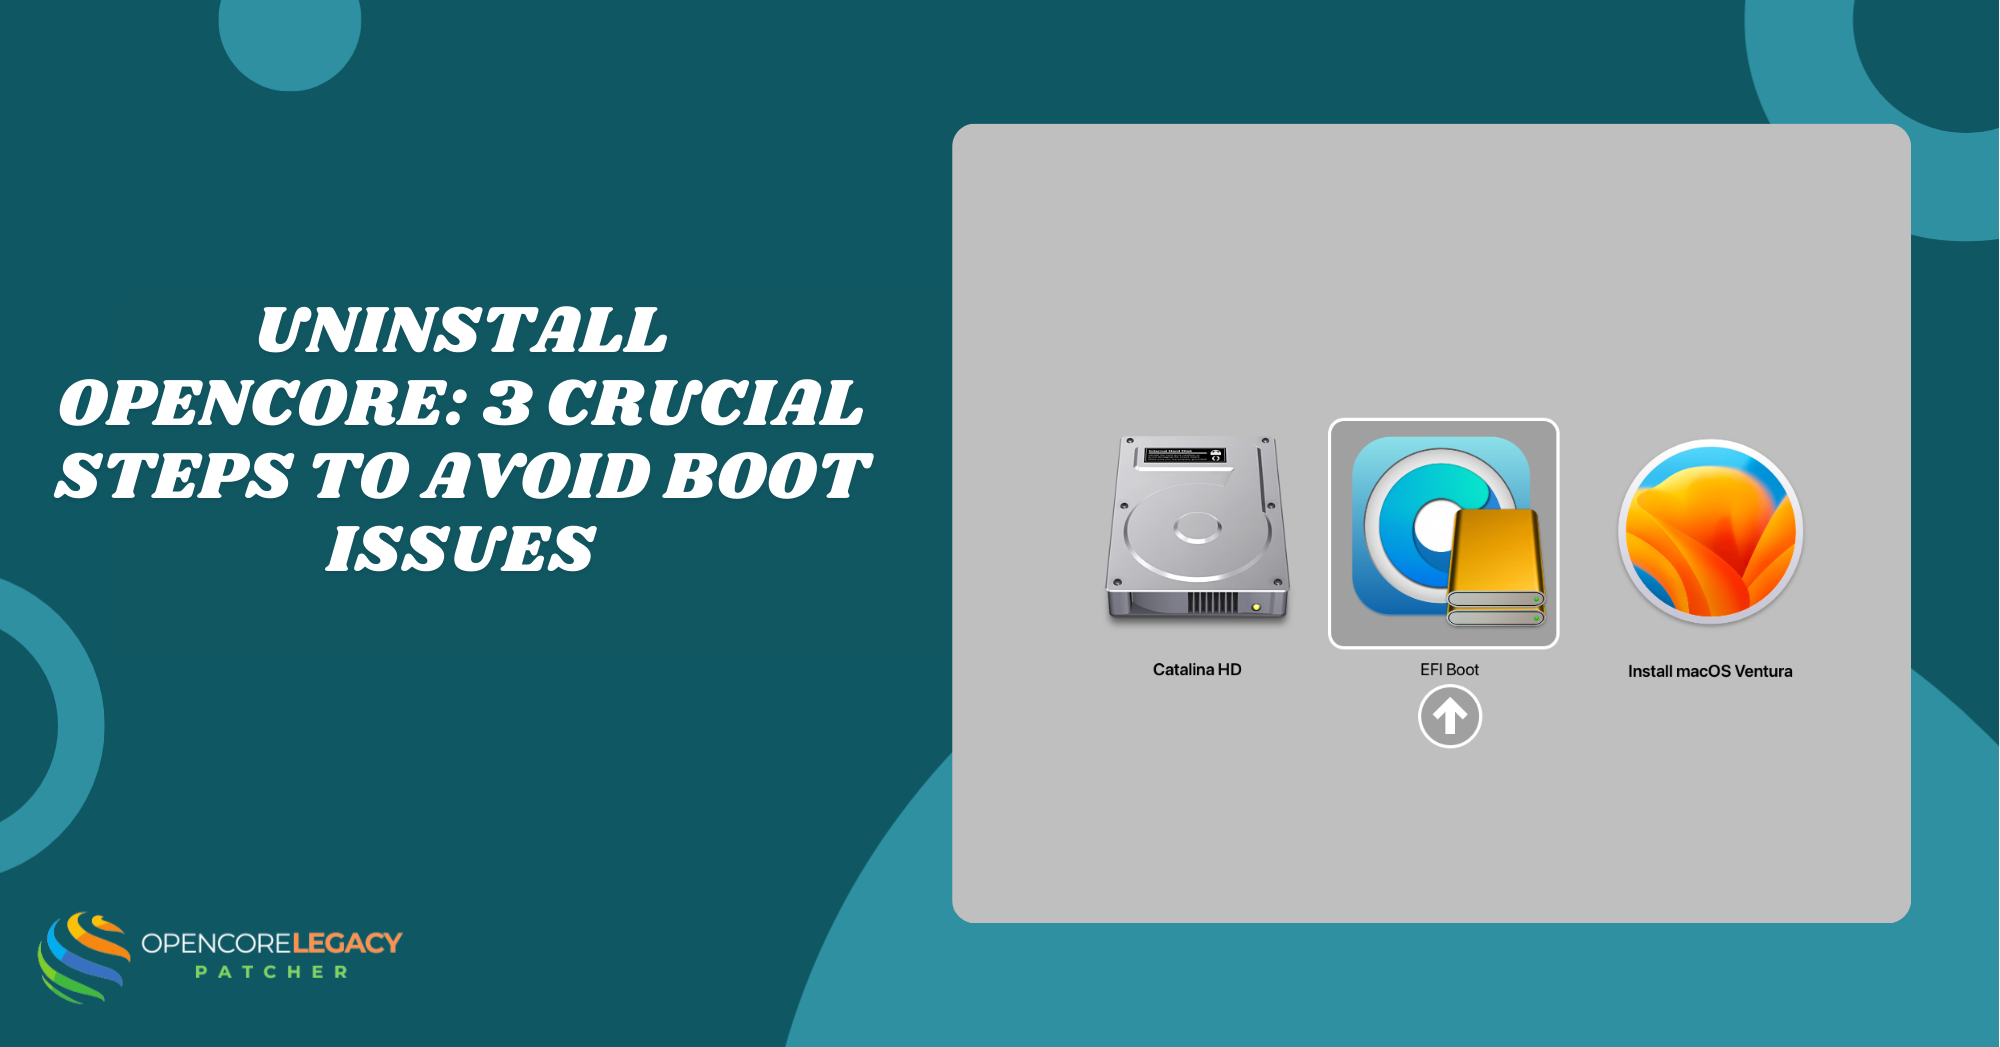
- Restart your Mac. Immediately hold down the Option (Alt) key until you see the boot selection screen.
- Select the “Install macOS [Version Name]” USB drive from the list. Make sure you do not select any drive with an OpenCore (OCLP) icon, as this will not start the Apple macOS installer.
- After selecting your installer drive, wait for Recovery Mode to load. When the menu appears, click on Disk Utility.
- Select your internal hard drive (the top-level device) and click Erase.
- Format as APFS (for SSDs) or Mac OS Extended (for older HDDs) with a GUID Partition Map.
Step 3: Install
Proceed with the installation. Since you booted from a native Apple installer and erased the drive, the removal of OpenCore Legacy Patcher is automatic—the OCLP files are wiped along with the old data.
Phase 4: Manually Remove OCLP from EFI (Without Reinstalling)
If you installed OCLP on a supported Mac, you can manually reset the EFI partition without reinstalling macOS.
Step 1: Mount the EFI Partition
The OpenCore bootloader lives in a hidden partition.
- Open Terminal.
- In Terminal, type diskutil list and press Enter. Identify your main drive; it is usually named disk0. Find the EFI partition listed for this disk (often called disk0s1). Note the identifier for the next step.
- Look for the partition named EFI. It will be something like disk0s1.
- Type sudo diskutil mount disk0s1 (replace disk0s1 with your EFI identifier from the previous step) and press Enter. Enter your administrator password when prompted. The EFI partition will now appear on your desktop and in Finder locations.
- Enter your password. The EFI drive will appear in your desktop / Finder locations.
Step 2: Delete the Folders
- Open the mounted EFI drive.
- You will see a folder named EFI. Open it.
- Inside, you will see folders like APPLE (do not touch this) and OC (this is OpenCore).
- Delete the “OC” folder.
- Delete the “System” folder (if present inside EFI).
- Empty the Trash.
Step 3: Restore Default Firmware Settings
After deleting the files, you need to clear the NVRAM so the Mac stops looking for OpenCore.
- Restart your Mac.
- Immediately hold Command + Option + P + R.
- Hold until the Mac chimes twice or reboots twice.
- Release the keys.
Your Mac will boot with the Apple bootloader. Unsupported OS versions will show a prohibitive symbol and require reinstalling a supported OS.
Phase 5: Verifying the Removal
How do you know if you successfully uninstalled the OCLP Mac components?
Check “About This Mac”
- Go to Apple Menu > About This Mac.
- On a patched Mac, the Graphics card might show a slightly different name, or the “Startup Disk” might be labeled as “EFI Boot.”
- On a stock Mac, the Startup Disk should be “Macintosh HD” (or whatever you named it).
Check Boot Picker
Restart your Mac and hold the Option key.
- With OCLP, you will see an icon labeled “EFI Boot” with the OpenCore logo.
- Without OCLP, only your hard drive and recovery partitions appear. If the OpenCore icon is gone, OCLP is removed.
Risks of Improper Removal
Attempting to remove root patches without understanding the consequences can lead to issues.
- Unbootable System: If you delete the EFI folder while running macOS Sonoma on a 2012 Mac, the computer will crash on the next boot because the native hardware cannot run that OS.
- Removing the app but leaving the root patches in place can cause instability during system updates.
- Stuck Boot Entries: Even after deletion, a “ghost” boot entry may remain. An NVRAM reset usually fixes this.
Frequently Asked Questions (FAQ)
Can I simply delete the OCLP app?
No. Deleting the application from your Applications folder only removes the control panel. It does NOT remove OpenCore Legacy Patcher boot files from the EFI partition or the drivers from your system. You must follow the reset EFI steps or wipe the drive.
Will I lose my data if I uninstall OCLP?
If you are downgrading the OS (e.g., Sonoma to Catalina), yes, you must erase the drive. If you are on a supported OS (e.g., Monterey on a 2015 MBP) and just removing OCLP tweaks, you can usually keep your data, provided you manually reset EFI correctly.
Can I keep macOS Sonoma after uninstalling OCLP?
No. If Sonoma does not officially support your Mac, it requires OCLP to boot and function. Removing OCLP will render the OS unbootable. You must reinstall macOS clean to a supported version (like Catalina or Big Sur).
How do I restore default firmware settings?
OCLP rarely overwrites the “firmware” on a Mac (it runs in memory). However, to clear any lingering variables, perform an NVRAM reset (Cmd+Opt+P+R) and an SMC reset. This acts as a restore default firmware refresh for the hardware controllers.
What happens if I see a “Prohibitory” sign after removal?
This symbol indicates that the operating system on the disk is not compatible with your hardware. This confirms that OCLP is gone, but it also means you cannot boot your current OS. You must boot into Internet Recovery (Command + Option + R) and install a compatible version of macOS.
Is it safe to sell a Mac with OCLP installed?
It is generally better to restore original macOS OCLP setups before selling. The new owner might not understand how to update or maintain a patched system. Selling it as “Stock” with the latest officially supported OS prevents future headaches for the buyer.
Conclusion
Deciding to uninstall OCLP Mac modifications is a wise move if you value stability over new features, or if you are preparing to pass your machine to a new owner. While the patcher is a fantastic tool, returning to the “walled garden” of stock macOS ensures maximum reliability.
Remember the golden rule of the OCLP removal guide: If your Mac doesn’t officially support the currently installed OS, you cannot remove the patcher without also replacing the OS.
By following the steps to reset EFI configurations and reinstall macOS clean, you can successfully revert a patched Mac to stock. Your Mac will return to its factory behavior, predictable, secure, and ready for its next chapter.Ready to restore? Back up your data to Time Machine now, grab your USB drive, and start the clean install!