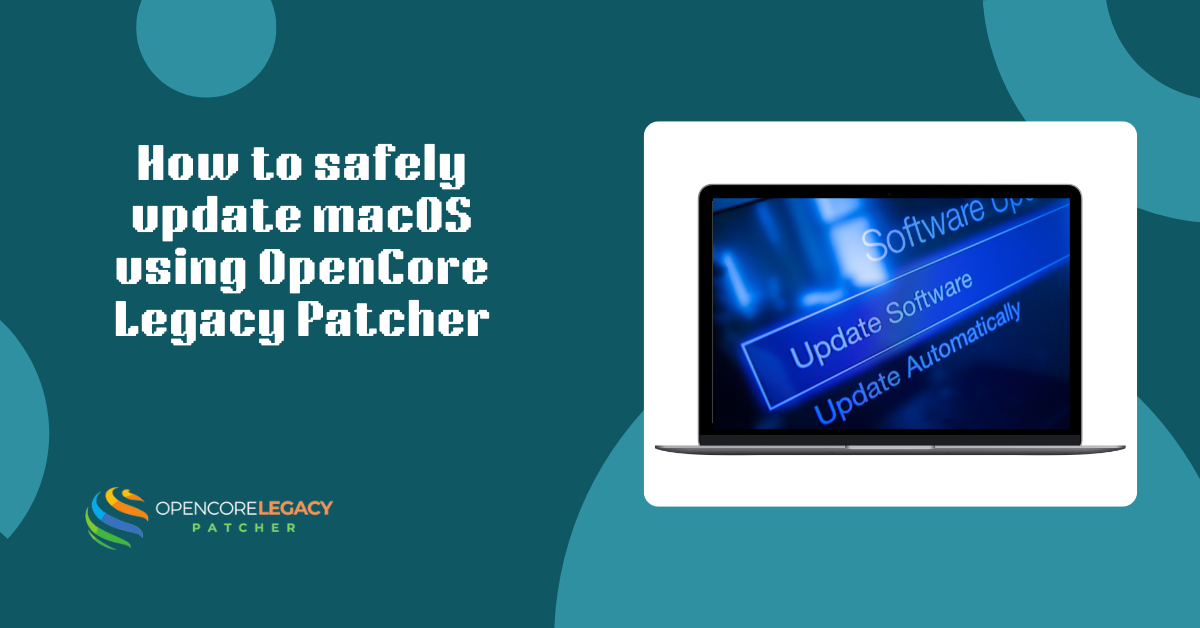
Introduction
Updating macOS on an unsupported Mac can feel like a high-stakes task, but update macOS with the OpenCore Legacy Patcher (OCLP), it is entirely achievable. The main hurdles usually involve boot errors or system instability if the update is rushed.
This guide explains how to navigate the update process safely, from essential pre-update checks to post-install stability tweaks. By following this roadmap, you can ensure your patched Mac remains a reliable daily driver, even with the latest software.

What You Need to Know Before Updating macOS
Before you click that “Update” button, you need a solid game plan. Jumping into an update without proper preparation is the fastest way to encounter a “black screen” or a boot loop.
Preparing your system ahead of time doesn’t just make the process smoother. It ensures that even if something goes wrong, you have a way to fix it.
Check Mac Compatibility
Not every older Mac handles the newest macOS versions the same way. Even with OCLP, hardware limitations, like an older GPU or limited RAM can lead to a sluggish experience.
Always double-check the OCLP documentation for your specific model identifier to see if there are any “red flags” for the version you want to install.
Review Current OpenCore and Kext Versions
Think of your kexts (like Lilu and WhateverGreen) as the translators between your old hardware and the new OS. If the translators are outdated, the update won’t understand your hardware.
Before starting the macOS update, ensure you are running the latest stable version of OpenCore and all its supporting extensions.
Backup Existing EFI and System
This is the most important step in the entire guide. If an update fails, having a backup means the difference between a 10-minute fix and a total loss of data. Your Backup Checklist:
- The EFI Clone: Copy your working EFI folder to a separate USB drive.
- The Full Safety Net: Use Time Machine or a cloning tool like Carbon Copy Cloner to back up your entire system.
- Redundancy: Don’t rely on just one backup; having a secondary copy provides total peace of mind.
Check for Known Issues
The OpenCore community is incredibly active. Before you commit to an update, spend five minutes on the OCLP GitHub or forums. If a specific update is causing Wi-Fi or Bluetooth bugs on your specific Mac model, someone has likely already posted about it and found a workaround.
How to Prepare Your Mac for a Safe Update
A clean and well-powered Mac is far less likely to fail during an installation. This stage is all about minimizing external risks so the installer can do its work without interruption.
Free Up Disk Space
macOS installers are huge, and they need extra “breathing room” to move files around during the update. If your drive is nearly full, the installation could fail halfway through, which would be a nightmare for system stability.
- The 30GB Rule: Aim for at least 20–30 GB of free space.
- Spring Cleaning: Delete old downloads and clear out your cache folders before you begin.
Verify Battery and Power Source
Never attempt an update on battery power alone. If your Mac dies in the middle of a firmware update or a system rewrite, recovery can be extremely difficult. Always keep your MagSafe or USB-C charger plugged in until the desktop finally reappears.
Disable Non-Essential Startup Items
To make the update process as “light” as possible, turn off any apps that launch at login. This reduces CPU load and prevents third-party software from conflicting with the patcher’s scripts during the final stages of the update.
How to Update macOS Using OpenCore Legacy Patcher
Once you are backed up and prepared, it’s time for the actual installation. Following these steps in order ensures that the new OS recognizes your hardware from the very first boot.
Download the Correct macOS Installer.
Don’t rely on random mirrors. Use the OCLP app’s built-in “Download macOS” feature or the official Mac App Store. A corrupted installer file is one of the most common causes of boot errors, so starting with a verified Apple installer is non-negotiable.
Launch OpenCore Legacy Patcher
Open the OCLP app and ensure your settings are correct for your specific model. Before you update macOS, you should “Build and Install OpenCore” to your internal drive one last time to make sure the bootloader is ready for the new version.
Apply Necessary Patches for Your Mac Model
Stick to the essentials. While OCLP offers many features, it applies only the patches required for your specific hardware (such as graphics acceleration or legacy Wi-Fi). Avoiding “experimental” patches during a major update will keep your system much more stable.
Start the macOS Update Process.
Once everything is set, run the installer. Your Mac will restart several times—this is normal. Do not force-restart or unplug your machine even if it looks stuck for a few minutes. Patience is the key to a successful patch.
Post-Update Checklist for Patched Macs
The update isn’t finished just because you reached the login screen. You need to make sure the “bridge” between the OS and your hardware is still intact.
Verify Boot and System Stability
Once you’re back in, test the basics: Does the Wi-Fi connect? Is the graphics movement smooth? If the screen feels “choppy,” it usually means your Root Patches need to be reapplied.
Update OpenCore and Kexts if Needed
Sometimes, an update changes how macOS handles drivers. Check the OCLP app again; it may prompt you to install a “Post-Install Root Patch” to restore features that the Apple update might have temporarily disabled.
Check for Errors in System Logs
If you notice the fans spinning too high or apps crashing, open the Console app. Looking for “Kernel” errors can help you identify if a specific patch is struggling with the new update, allowing you to fix it before it causes a crash.
Restore Backups if Issues Occur
If the update is a total disaster, don’t panic. This is why you made a backup. Simply boot from your USB EFI and use your Time Machine backup to revert to the previous version in a few simple clicks.
Tips for Maintaining a Stable Patched macOS After Updates
Keeping a patched Mac running perfectly is an ongoing process. A little bit of monthly maintenance can prevent almost all common OCLP issues.
Regularly Check for OCLP Updates
The developers behind OCLP are constantly releasing bug fixes. Make it a habit to check for app updates once a month. Staying current ensures that your Mac is always using the most efficient patches available.
Avoid Over-Patching
It’s tempting to try every new feature, but on unsupported hardware, “if it ain’t broke, don’t fix it” is a great rule to live by. Stick to the patches that are strictly necessary for your hardware to function.
Monitor System Health and Logs
Keep an eye on your Activity Monitor. If you notice a new process using 100% of your CPU after an update, it could be a sign that a background patch is conflicting with a system service. Detecting this early prevents long-term hardware strain.
Conclusion
Updating macOS on an unsupported Mac doesn’t have to be stressful. With the right preparation, a solid backup, and a patient approach, you can keep your older Mac running the latest software with total confidence.
By treating the update process with care and following the post-install checks, you ensure that your “vintage” hardware stays fast, secure, and modern for years to come.
FAQs – How to Safely Update macOS Using OpenCore Legacy Patcher
What is the safest way to update macOS on a patched Mac?
First, update the OCLP app to the latest version and back up your EFI folder to a USB drive. This ensures you can update macOS safely while keeping a “rescue” drive ready in case the installation hits a snag.
Can updating the EFI without backing up cause issues?
Yes, an incompatible configuration can prevent your Mac from booting. Having a backup lets you update macOS with peace of mind, knowing you can bypass internal drive errors and easily rescue your system.
How do I check kext compatibility?
The OCLP app handles most checks automatically, but you should verify the official GitHub “Releases” page. This confirms your hardware drivers are fully compatible before you choose to update macOS on your machine.
Should I update OCLP before or after the macOS update?
Always update the OCLP app first, as the latest patches are ready for the new system. Prepares the necessary “bridge,” so your hardware can update macOS successfully without losing functionality.
How much disk space do I need?
Aim for at least 30GB of free space. While the installer is smaller, your system needs extra space to move files during the update macOS without running into “out of storage” errors mid-install.
Can an interrupted update brick my Mac?
Hardware damage is rare, but power loss can corrupt your files. Always keep your charger plugged in to update macOS smoothly and avoid a system that becomes unbootable due to a sudden power failure.
How do I restore my system if the update fails?
Use your external USB EFI drive to boot the machine and then use your system clone to revert. This lets you update macOS without fear, since you can always revert to a working version if needed.
Is it safe to use experimental patches?
Experimental patches are best for secondary machines or advanced users. To safely update macOS on your primary Mac, stick to the “Recommended” OCLP patches to maintain daily stability and reliability.
Latest Posts: