
Introduction
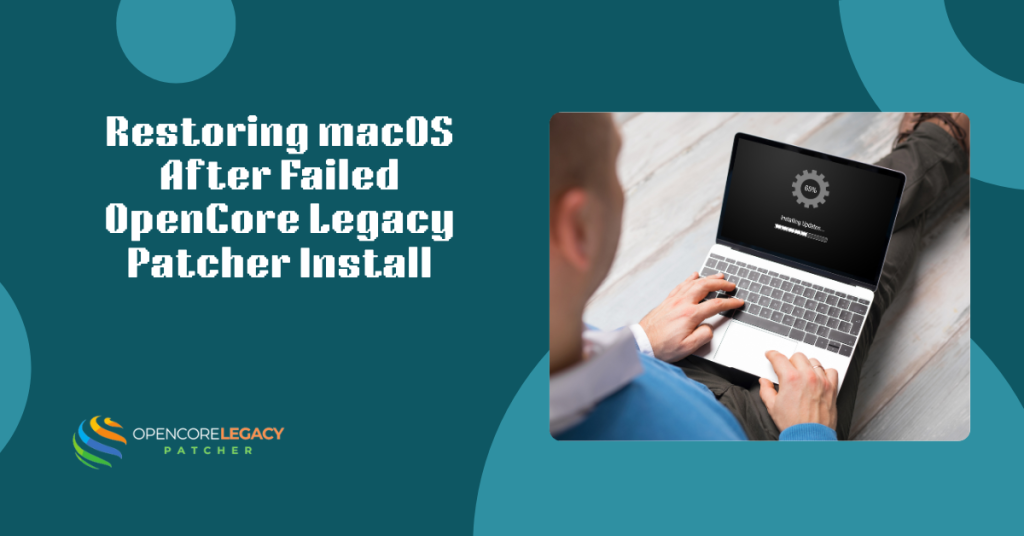
Experiencing a failed OpenCore Legacy Patcher installation can be terrifying, often leaving your Mac stuck in a boot loop, displaying a prohibited sign, or hanging on a black screen. This tool is powerful for breathing new life into older Macs, but when it conflicts with system files or corrupts the EFI partition, it can render the machine temporarily unusable.
Restoring your Mac requires a systematic approach to remove the modified bootloader and restore the system to its native state. By carefully removing the OpenCore patches and resetting the non-volatile memory, you can regain access to your operating system without necessarily losing your personal data.
What is a Failed OpenCore Legacy Patcher Install?
A failed OpenCore Legacy Patcher install occurs when the modified OpenCore bootloader is incompatible with the Mac’s hardware or the installed macOS version, preventing the system from starting correctly.
The Prohibited Sign (Circle with a Line)
The most common symptom is the “prohibited” sign, which looks like a circle with a diagonal line through it. This icon indicates that the Mac has found an operating system, but the kernel cannot load because the digital signature or version does not match what the firmware expects.
Infinite Boot Loops and Black Screens
In some cases, the Mac attempts to load the OpenCore drivers, fails, and immediately restarts, creating an endless cycle. Alternatively, you might see a black screen immediately after the Apple logo, which usually signals that the graphics patches applied by OpenCore Legacy Patcher install are conflicting with the display drivers during the boot process.
How to Boot into Safe Mode for Emergency Access
Safe Mode is your first line of defense because it loads macOS without third-party extensions, login items, or cached OpenCore graphics patches.
Initiating Safe Boot on Intel Macs
To enter Safe Mode on an Intel-based Mac, shut down the computer completely, then wait for 10 seconds. Turn the Mac on, then immediately press and hold the Shift key until you see the login window, which should display “Safe Boot” in red in the top corner.
Why Safe Mode Fixes OCLP Issues
Booting in Safe Mode bypasses the kexts (kernel extensions) that OCLP injects into the system to force compatibility. If you can reach the desktop in Safe Mode, you can run the OCLP app again to revert the root patches, or uninstall the tool entirely without needing a bootable USB drive.
How to Remove OpenCore from the EFI Partition
To permanently fix the boot issue, you must delete the OpenCore folder from the hidden EFI partition where the computer looks for boot instructions.
Mounting the Hidden EFI Partition
The EFI partition is invisible by default in Finder, so you will need to use the Terminal to reveal it. Open Terminal and type diskutil list to identify your main drive’s identifier (e.g., disk0s1), then run sudo diskutil mount disk0s1 to make the EFI drive appear on your desktop.
Deleting the OC and BOOT Folders
Once the EFI drive is mounted, open it and navigate to the EFI folder. Inside, you will see a folder labeled OC and another labeled BOOT; delete both to remove the OpenCore bootloader logic.
Restoring Native Boot Priority
After deleting the folders, the Mac might still try to find them because their location is saved in its settings. You must go to System Settings > General > Startup Disk, select your internal hard drive, and click “Restart” to force the Mac to write a new, clean boot path to its firmware.
How to Reset NVRAM and PRAM Effectively
OpenCore modifies the Non-Volatile Random Access Memory (NVRAM) to spoof the Mac’s model ID, and these changes persist even after you delete the files.
The Importance of Clearing Boot Variables
If you do not reset the NVRAM, your Mac might still think it is a newer model (e.g., a 2012 MacBook thinking it is a 2020 model). This confusion prevents the native macOS kernel from loading, as it detects a mismatch between the reported hardware ID and the actual physical components.
The Reset Command Sequence
Shut down your Mac completely, then press the power button and immediately hold down Command + Option + P + R. Keep holding these four keys until you hear the startup chime for the second time (or see the Apple logo appear and disappear twice), which confirms that the NVRAM has been wiped clean.
How to Use Recovery Mode to Reinstall macOS
If removing the EFI files does not work, the operating system itself may be corrupted, requiring a reinstall of the native macOS version.
Accessing Native Internet Recovery
Shut down the Mac, then turn it on and immediately hold Command + Option + R to trigger Internet Recovery. This command tells the Mac to ignore the internal drive and download the latest compatible Recovery image directly from Apple’s servers, bypassing any OCLP corruption.
Reinstalling Without Wiping Data
Once the Recovery utility loads, select “Reinstall macOS” from the main menu and follow the prompts to OpenCore Legacy Patcher install the OS on your main drive. This process overwrites the system files, replacing any modified extensions with fresh, stock versions, while leaving your documents, photos, and apps untouched.
How to Revert Root Patches Using OCLP
If you can boot into the system (perhaps via Safe Mode), the cleanest way to fix the issue is using the OCLP app’s built-in revert function.
Accessing the Post-Install Menu
Open the OpenCore Legacy Patcher install application and click on the button labeled “Post-Install Root Patch.” This section manages modifications to the system volume, such as graphics acceleration and Wi-Fi drivers for unsupported hardware.
Reverting to Stock Snapshot
Click the “Revert Root Patches” button to undo all changes to the system volume. The tool will restore the last “sealed” APFS snapshot, effectively rolling back the operating system to its pure, unmodified state before OCLP touched it.
How to Recover Data If the Mac Won’t Boot
If all attempts to restore the OS fail, your priority shifts to rescuing your important files before performing a total wipe.
Using Target Disk Mode
If you have a second Mac and a FireWire or Thunderbolt cable, you can mount the failed Mac as an external hard drive. Hold the T key during boot on the failed Mac until a floating logo appears, then connect it to the working Mac to copy your files from the drive.
Creating a Linux Live USB
If you do not have another Mac, you can create a bootable Ubuntu (Linux) USB drive on a Windows PC. Boot your Mac from this Linux USB drive to access the internal hard drive, then drag and drop your documents onto an external hard drive without needing macOS to run.
How to Prevent Future OpenCore Failures
Understanding why the OpenCore Legacy Patcher installation failed is crucial to avoiding the same nightmare scenario when you attempt to patch the system again.
Verifying Hardware Compatibility
Always double-check the “Supported Models” list on the official Dortania guide before running the patcher. OpenCore Legacy Patcher Installing a patch designed for a different GPU architecture or CPU generation is the leading cause of unbootable black screens.
Disabling SIP Before Patching
System Integrity Protection (SIP) can block OCLP from writing necessary files to the root volume. Ensure SIP is partially or fully disabled in the OCLP settings, or via Recovery Mode (using csrutil disable), if the guide for your specific model requires it.
Conclusion
Recovering from a failed OpenCore Legacy Patcher install might feel overwhelming, but a systematic approach makes it manageable. By safely removing the modified EFI files and performing a thorough NVRAM reset, you can clear out custom boot settings and return your Mac to its stable, native state.
Moving forward, always ensure you have a verified Time Machine backup and a native recovery USB drive ready before attempting deep system modifications. This preparation gives you peace of mind, allowing you to experiment with new features while knowing your data and hardware remain fully protected.
Frequently Asked Questions
What does the prohibited sign mean after installing OCLP?
The prohibited sign means the Mac found a macOS installation that is not natively compatible with your hardware. This usually happens if the OpenCore Legacy Patcher install process was incomplete or if the bootloader is missing from the EFI partition.
Can I uninstall OpenCore without wiping my hard drive?
Yes, you can uninstall it by mounting the EFI partition and deleting the “EFI/OC” folder. After this, a simple NVRAM reset clears the boot variables and usually restores your native macOS access without touching your personal data.
Why is my screen black after the Apple logo?
A black screen typically points to a graphics driver failure. This often happens if the “Post-Install Root Patch” was skipped during your OpenCore Legacy Patcher install, leaving the system without the necessary drivers to display the desktop.
How do I mount the EFI partition in Terminal?
Open Terminal and type diskutil list to find your disk identifier (like disk0s1). Then, type sudo diskutil mount disk0s1 and enter your password; the EFI partition will appear on your desktop just like a normal USB drive.
Will resetting NVRAM delete my data?
No, resetting NVRAM only clears low-level settings like volume, time zone, and startup disk selection. It does not affect your photos, documents, or apps, making it a safe troubleshooting step for any OpenCore Legacy Patcher install.
How do I know if I need to revert root patches?
You should revert patches if you notice graphical glitches, broken Wi-Fi, or system instability after a macOS update. Reverting restores your system files to their original state, which is a required step before you attempt a clean uninstallation.
What if I cannot boot into Recovery Mode?
If the standard shortcut fails, try Internet Recovery by holding Command + Option + R. If your Mac still won’t cooperate, you will need to use another computer to create a bootable USB installer for a version of macOS your Mac supports natively.
Can I use Time Machine to restore my Mac?
Yes, Time Machine is your best safety net in case of a failed OpenCore Legacy Patcher install. Simply boot into Recovery Mode, select “Restore from Time Machine,” and pick a backup date from before you started the patching process.
Latest Posts: