Table of Contents
ToggleIntroduction: Sequoia on Unsupported Macs
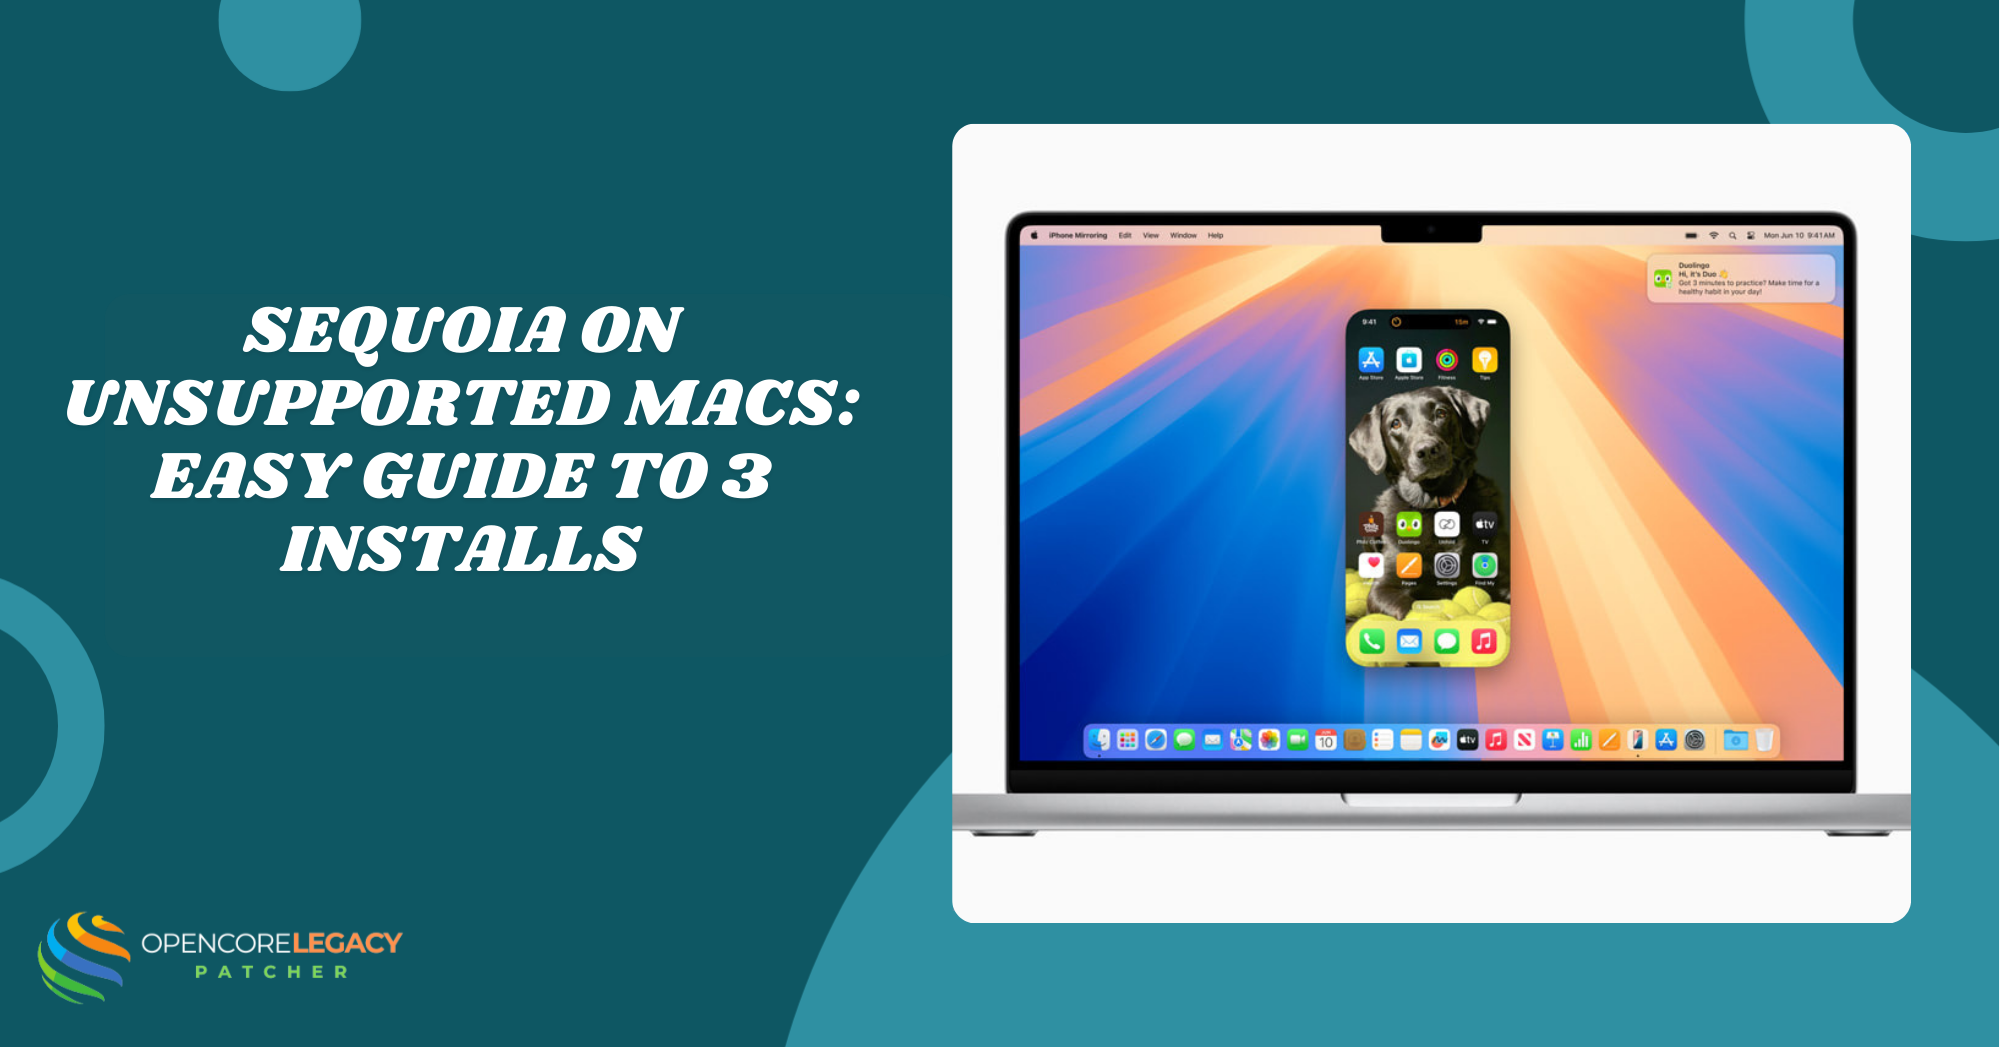
Apple’s latest operating system, macOS 15, brings exciting features like iPhone Mirroring and window tiling, but it leaves many older Intel-based Macs behind. Fortunately, the OpenCore Legacy Patcher (OCLP) community has worked tirelessly to make running macOS Sequoia on Unsupported Macs a reality.
Whether you are trying to revive a 2012 MacBook Pro or a 2015 iMac, this OCLP Sequoia guide will walk you through the entire process safely.
Can My Mac Run Sequoia?
Verifying Hardware Compatibility
Before proceeding, check if your Mac meets the hardware requirements for macOS 15 Sequoia. OCLP generally supports Macs from 2008 onward, but for macOS Sequoia, your Mac should be from 2012 or later and have a Metal-compatible GPU. This ensures better graphics performance, compatibility, and stability during use.
MacBook Air and Pro Considerations
If you are planning to install macOS Sequoia on unsupported MacBook models (Air or Pro), rest assured that the latest patcher updates well handle battery life and thermal management. However, ensure you have at least 8GB of RAM for optimal performance.
Prerequisites
Required Equipment
To perform a macOS Sequoia installation on an unsupported Mac, you will need a USB drive with at least 16GB (USB 3.0 recommended).
- OpenCore Legacy Patcher App: Download the latest release from GitHub.
Backup Your Data
Always use Time Machine to back up your critical files before installing macOS Sequoia on your old Mac devices. This ensures you can revert if anything goes wrong during the patching process.
Step 1: Download and Build the Installer
Accessing the OCLP Interface
The first step in learning how to install macOS Sequoia on unsupported Macs involves preparing your installation media. Install & Open the OpenCore Legacy Patcher app on your current Mac.
Creating the Bootable Media
Click “Create macOS Installer” and choose “Download macOS Installer. Select macOS 15 Sequoia from the list. Once the download finishes, select your 16GB USB drive to flash the installer onto it.
Step 2: Install OpenCore to USB
Why This Step is Critical
This is the most critical step for the Sequoia macOS OCLP method. Your Mac cannot boot the standard Sequoia installer without OpenCore acting as a bridge to bypass Apple’s restrictions.
Building the Configuration
Return to the OCLP main menu and click “Build and Install OpenCore. Select “Install to Disk,” and Important: select your USB drive (the same one that holds the installer). This writes the EFI boot files to the USB.
Step 3: Boot and Install macOS Sequoia
Booting from EFI
Now you are ready to install macOS Sequoia on your old Mac hardware. Shut down your Mac and insert the USB drive. Power on and immediately hold the Option (Alt) key.
Selecting the Correct Installer
Select the “EFI Boot” icon (with the OCLP logo) first. This loads the patcher. Next, select the “Install macOS Sequoia” icon. Follow the standard Apple installation prompts. Your Mac will restart several times; this is normal.
Step 4: Post-Installation Root Patches
Fixing Graphics and Wi-Fi
Once you reach the desktop, graphics might be slow, or Wi-Fi may not work. This is because you need to apply the macOS Sequoia legacy patch drivers.
Applying the Root Patch
Open the OCLP app (it usually prompts you to open it). Select “Post-Install Root Patch” and click “Start Root Patching. Once completed, reboot your Mac to finalise the drivers.
Can I Install Without a USB?
The OTA Upgrade Method
Many users ask about macOS Sequoia on unsupported Macs without a USB. If you are already running OCLP on macOS Sonoma, you can often update to Sequoia via System Settings (Over-the-Air).
Important Warning
To use the “No USB” method, you must update your OCLP app before running the system update. However, for a fresh installation on a wiped drive, a USB is strictly required.
Step 5: Install OpenCore to the Internal Drive
Removing the USB Dependency
To finish solving the OCLP startup problem and boot without the USB drive, open OCLP again.
Finalising the Build
Click “Build and Install OpenCore. This time, select your internal hard drive (e.g., Macintosh HD). Restart your computer and remove the USB drive. You are now running Sequoia natively on the internal disk.
Frequently Asked Questions (FAQ)
Is macOS Sequoia stable on unsupported Macs?
Yes, for most Metal-compatible Macs (2012+), the Sequoia macOS OCLP is highly stable. However, features that rely on the Neural Engine (such as Apple Intelligence) will not work on Intel Macs.
How do I update OCLP in the future?
When a new macOS version drops (e.g., 15.1), update the OCLP app first, then run the legacy Mac Sequoia patch (Post-Install) again after the system update completes.
Can I install macOS Sequoia on an unsupported MacBook Air with 4GB RAM?
Technically, yes, you can put macOS Sequoia on unsupported MacBook models with 4GB RAM, but performance may be sluggish. 8GB or more is recommended for a smooth experience.
What if my Mac gets stuck during installation?
If your unsupported macOS Sequoia installation freezes, force a restart and reset NVRAM (Command + Option + P + R) Or you can Revert The OCLP. Ensure you booted from the “EFI Boot” icon on the USB drive, not the installer icon directly.
Is there a way to install macOS Sequoia on unsupported Macs without using any USB drives?
As mentioned, macOS Sequoia on unsupported Macs via the USB method is intended only for users upgrading from a previous OCLP-patched system (like Sonoma). For a clean install on a formatted drive, a USB is required.