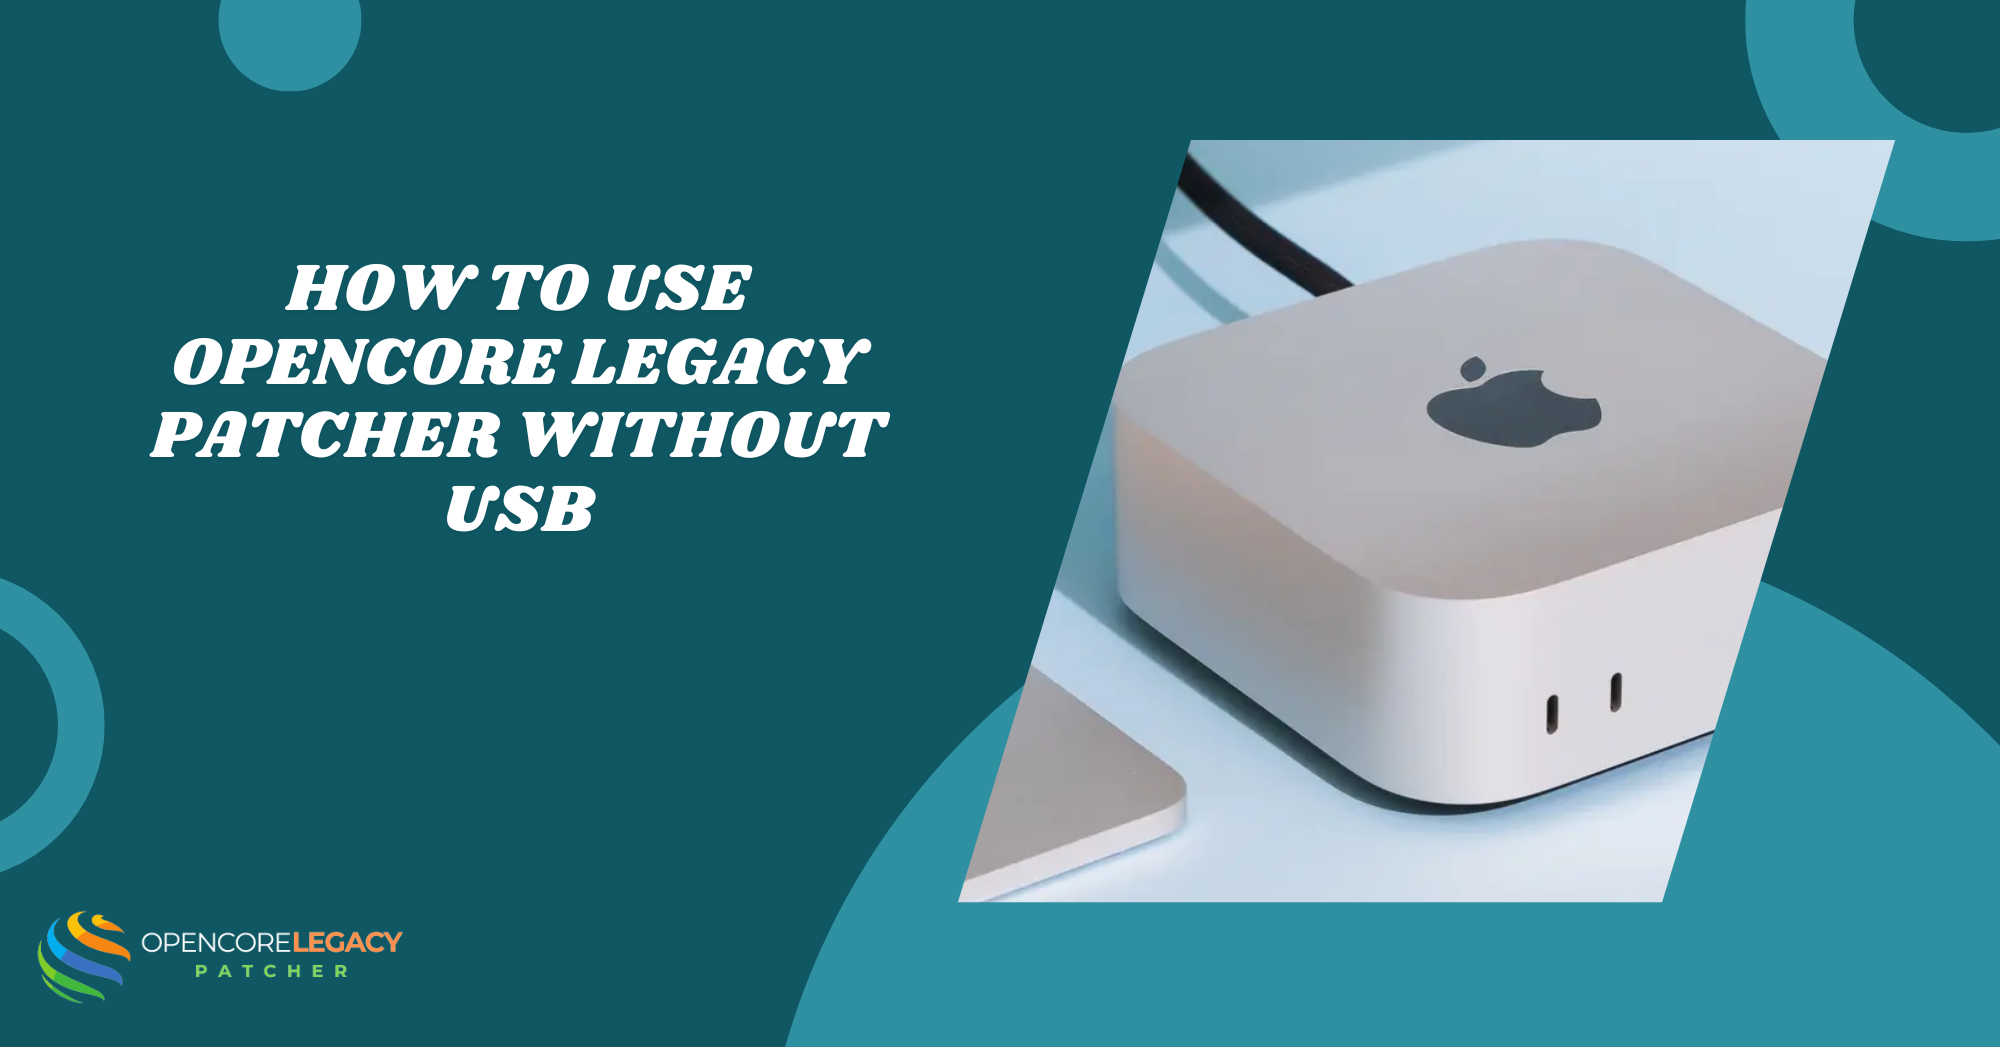
Introduction to Using OpenCore Legacy Patcher Without a USB
So, you’ve heard about OpenCore Legacy Patcher (OCLP) and want to breathe new life into your old Mac—amazing choice! But the thought of juggling USB drives and EFI partitions might sound a bit too techy, right? Good news: you don’t need a USB to make it happen.
Yes, you read that right! With the right steps, you can install and use OpenCore Legacy Patcher without USB directly from your Mac’s internal drive. It’s cleaner, quicker, and honestly, way more convenient—especially if you don’t have an extra USB lying around.
Why Avoid a USB Installer?
Let’s be real—USB drives love to disappear at the worst moments. And when you need them for booting or patching, it’s beyond frustrating. Avoiding a USB installer simply means one less thing to worry about.
Plus, constantly booting from a USB can slow things down and wear out the port. Installing OpenCore directly on your internal drive just feels smoother. It also makes your Mac feel more like… well, your Mac again!
Benefits of a USB-Free Installation Method
Going USB-free has some big perks. First off, no more clutter. Everything you need is built right into your Mac—ready to boot anytime, no plug-ins needed.
Also, it’s more reliable. Your system boots consistently from the internal disk, reducing the chance of errors or “missing boot device” drama. It’s seamless, smart, and totally beginner-friendly once you know the steps.
Ideal Use Cases for Internal Disk Installation
If you’re using your Mac as a daily driver, this method is perfect. It keeps things simple and stable, especially when you’re not constantly tinkering with your setup.
It’s also great if you’ve already done the patching once and just want things to “stick.” With the internal disk method, you’re setting it and forgetting it—no need to keep that USB plugged in every time.
What Is a USB-Free OpenCore Legacy Patcher Setup?
A USB-free OpenCore setup means you’re installing everything—like the EFI files and bootloader—straight onto your Mac’s internal drive. No external devices needed!
This method mimics what the USB version does, but makes it permanent. It’s like having a patcher built into your Mac, quietly doing its job every time you start up.
Understanding the Concept of USB-Free Booting
In simple terms, your Mac boots directly from its storage where OpenCore is installed. This way, you skip the step of booting from a USB stick altogether.
It’s a cleaner setup, and your Mac feels more like it’s running a supported OS, even when it’s technically not. The experience is smoother and more native.
Key Differences Between USB and Non-USB Methods
With a USB method, you need to boot into OpenCore from the USB drive every time. That can be annoying, especially if the drive gets lost or corrupted.
The non-USB method installs OpenCore onto your Mac’s internal EFI partition. That means your Mac boots like normal—no extra steps, no external devices, and way less hassle.
Advantages and Limitations of Internal Drive Installation
One big plus is convenience. Your Mac boots up faster and more reliably without looking for an external drive. It’s also a great solution for people who want to update their system less frequently.
On the flip side, it does require a bit more care. If something goes wrong, you won’t have a fallback USB boot device. But with good backups (which we’ll talk about next), you’ll be totally fine.
Preparing Your Mac for USB-Free Patching
Okay, before we dive into installing OpenCore without a USB, let’s get your Mac ready. A little prep work now saves a lot of headaches later.
From checking compatibility to backing up your data, each step matters. Think of it as setting the stage for a smooth, USB-free makeover!
Check the Compatibility of Your Mac Model
Not all Macs play nicely with OCLP. So, your first step? Make sure your Mac is supported. The official OpenCore Legacy Patcher page and our Blog lists all compatible models—worth a peek.
If your Mac’s on the list, yay! If not, don’t worry—there might still be ways to make it work, but it’ll require more advanced steps and tweaks.
Back Up Your Data Safely
This one’s super important—always back up your stuff. Whether it’s Time Machine, an external drive, or iCloud, make sure everything’s safe before you touch a single system file.
Even though the patching process is generally safe, it’s always better to play it smart. You never know when your cat will jump on the keyboard mid-install (true story).
Update or Download Required macOS Installer
Next up: get the macOS version you want to install. It should match the one supported by the patcher and your hardware. You can download it from the App Store or use tools like GibMacOS.
Having the installer ready on your drive makes things smoother. Plus, you’ll need it during the setup when the patcher builds the boot files for you.
Disable SIP and Secure Boot If Needed
Depending on your Mac model, you might need to tweak a few security settings. Disabling System Integrity Protection (SIP) and lowering Secure Boot can be necessary for OpenCore to work.
Don’t worry—it’s reversible. You can always turn them back on after you’re done. And once everything’s installed, your system will still be safe and sound.
How to Install OpenCore Legacy Patcher Without USB
Ready to dive in? Here’s the fun part—installing OpenCore without a USB. It might sound techy at first, but trust me, once you’ve got the steps down, it’s a breeze.
We’ll be working right on your internal drive using built-in tools or the OpenCore GUI. You’re basically teaching your Mac a new way to boot—all from the inside. Let’s go!
Using Terminal or Built-in Utilities
You can totally do this with the Terminal if you’re comfy with commands. OpenCore Legacy Patcher offers a powerful GUI version, too, so you don’t have to memorize anything.
Whether you go click-by-click or type away like a pro, the patcher guides you through writing OpenCore to the right location. Just follow the prompts, and let it do its thing!
Mounting EFI to Internal Drive
Once you’re in the patcher, look for the option to mount your EFI partition—it’s like unlocking a secret room in your Mac. The patcher will detect your drive and mount it for you.
This step is crucial because it’s where all the boot files will live. Think of it as setting up OpenCore’s cozy little home inside your system.
Writing OpenCore Directly to the System Volume
Now, you’ll install OpenCore directly into that mounted EFI partition. The patcher builds everything based on your Mac model—just click Build and Install OpenCore, and you’re set.
Once installed, those files will live on your internal disk. You won’t need to plug in anything else to boot, ever again. It’s such a great feeling!
Rebooting and Testing the Patcher Setup
All done? Yay! Now it’s time to reboot and check if everything works. Restart your Mac and hold the Option key to pick the OpenCore boot option (if needed).
If your system starts up like normal but feels snappier, congrats—you’ve just patched like a pro without a USB!
Post-Installation Steps and Optimization
With OpenCore installed and running, let’s polish things up. A little cleanup and tweaking go a long way to keep your Mac running smoothly.
These extra steps also make sure your system stays safe, stable, and ready for any updates or changes down the road.
Verifying Boot Functionality
Start by confirming that your Mac is booting from OpenCore each time. If you hear the familiar chime and everything loads perfectly—woohoo! You did it.
If you ever need to double-check, the OpenCore picker usually shows up at startup. You can also peek inside your EFI folder to be sure it’s all there.
Configuring Auto Boot with OpenCore
Want to skip that boot picker screen? You can set OpenCore to boot automatically. Just tweak a few settings in the patcher or your config file—super easy.
That way, your Mac just turns on like usual. No fuss, no choices, just smooth sailing every time you press the power button.
Re-enabling Security Settings After Install
Now that everything works, it’s a good idea to turn security features back on. You can re-enable SIP and adjust Secure Boot to whatever level you’re comfy with.
Your system will still run OpenCore just fine, and you’ll get back that peace of mind knowing things are locked down again.
Keeping OpenCore Updated
OpenCore doesn’t update itself, so you’ll need to check in from time to time. Whenever there’s a new macOS version or patcher update, launch the tool and rebuild your EFI.
It’s super quick and keeps your Mac running like a champ—even after updates try to sneak in and break things.
Common Issues and Troubleshooting
Uh-oh—something didn’t go quite right? Don’t panic. These things happen, and thankfully, most fixes are super simple.
Let’s walk through a few common hiccups and how to smooth them out like a techy goddess.
Mac Not Booting After Patching
If your Mac won’t boot after installing OpenCore, it’s usually a config issue. Try resetting NVRAM (hold Option + Command + P + R at startup) and see if that helps.
Still stuck? Boot into recovery, mount your EFI, and reinstall OpenCore using the patcher. A quick refresh often does the trick.
EFI Not Mounting Properly
Sometimes, the EFI partition won’t mount, especially if your disk has multiple partitions or unusual formatting. Relaunch the patcher and try again.
If it keeps failing, reboot and start fresh. You can also use a tool like MountEFI or Terminal if you’re feeling extra handy.
Stuck on Apple Logo or Boot Loop
This one’s usually caused by missing drivers or the wrong SMBIOS setup. Reboot into recovery (or fallback USB if you made one) and rebuild your OpenCore config.
Also, check that the macOS version you’re installing matches your patcher build—it makes a big difference!
How to Revert Changes Safely
Want to undo everything and go back to your original setup? No problem. Just remove the OpenCore files from your EFI and reset NVRAM again.
Your Mac will boot like it used to, and you can start fresh anytime. It’s nice to have that flexibility, right?
Of course! Here’s the final section of your blog post, staying true to the tone, style, and formatting you’ve asked for:
Maintenance and Long-Term Use Tips
Now that your USB-free setup is up and running, let’s keep it that way! A little care goes a long way when you’re using OpenCore Legacy Patcher long-term.
Think of this section as your patcher self-care guide. From updates to backups, these tips help you stay ahead of any surprises.
Keeping Your System Updated Without Breaking the Patch
macOS updates are exciting—but they can mess with your setup if you’re not careful. Always wait a few days after an update drops to see if it plays nice with OpenCore.
Check the patcher’s release notes and Discord or Reddit threads. Once it’s safe, update macOS and reapply the patch using the tool. Easy!
Reapplying the Patch After macOS Updates
Some system updates like to “forget” your patched files. Don’t panic—it’s totally normal. Just relaunch OpenCore Legacy Patcher, rebuild your EFI, and reinstall it.
This keeps everything smooth and stable. It only takes a few minutes and ensures your Mac keeps booting like a dream.
Backing Up EFI Configuration Files
Your EFI setup is like the brain of your patched system, so treat it kindly! Back it up before making big changes or updates.
Just copy the entire EFI folder to an external drive or cloud storage. If anything goes wrong later, you’ll have a working version ready to save the day.
Monitoring Community Updates and Releases
The OCLP community is full of friendly, brilliant folks who share tips, updates, and fixes. Whether it’s on GitHub, Reddit, or Discord, staying in the loop is super helpful.
You’ll be the first to know about new features, bug fixes, or any big changes to macOS support. Plus, it’s fun to see what others are doing with their Macs!
Conclusion on USB-Free OpenCore Legacy Patching
Using OpenCore Legacy Patcher without a USB is such a game-changer. It’s cleaner, faster to set up, and just more practical for daily use. Once you’ve done it, you’ll wonder why you didn’t do it sooner.
With just a bit of preparation and the right steps, you can give your older Mac a fresh new life—and enjoy all the modern macOS features without the USB dance.
FAQs
Can I install OpenCore on my internal drive safely?
Yes, using proper steps and backups, you can safely install OpenCore without a USB.
What are the risks of not using a USB drive?
Misconfigurations may lead to boot issues if EFI isn’t installed properly.
Is USB-free OpenCore faster or better?
It’s not necessarily faster, but it’s more convenient for long-term use.
Do I still need to create an EFI partition manually?
No, OpenCore Legacy Patcher can automate this if you’re using the GUI version.
What happens if the system fails to boot after a USB-free setup?
You may need to use a recovery USB or reset NVRAM and reapply OpenCore.
Can I use this method for macOS Sonoma or Ventura?
Yes, if your Mac is compatible and meets patcher requirements.
Is it legal to use OpenCore Legacy Patcher this way?
Yes, it’s legal for personal use, but not officially supported by Apple.
Latest posts: